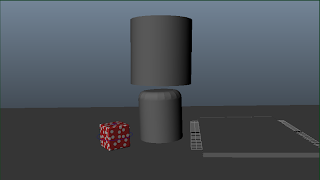
To start the module off we had a quick recap of Maya and an update to any small changes the 2014 version has made. Once our Maya brains were back in gear it was time to learn how to render a 3D animated object into a still photo back plate, and use different tools to make it look seamless. Underneath are the different steps I took whilst following Mat's instructions and following his tutorial guide.
Change the UV map
Colour Pass
Shadow Pass
Reflection Pass
Occlusion Pass
Edit on After Effects and colour grading
Here we have the finished thing! I learnt so much doing this task, and hopefully it will be useful when putting my finished video together.
Here we have the finished thing! I learnt so much doing this task, and hopefully it will be useful when putting my finished video together.
Untitled from sacha frampton on Vimeo.


No comments:
Post a Comment